
This is the second article in our three-part overview of the animation pipeline. You can go back to pre-production at any time!
We’ve already established that the animation pipeline has three main stages:
- Pre-production: Where the ideas are conceived, characters and environments are designed, and the animation is pitched,
- Production: Where the designs are put together, animated, and rendered, plus
- Post-production: Where you add sounds and music, put the finishing touches on the animation, and ship the final product!
You also already know that pre-production is the longest of these three. Most of the ambiguity for creative work is in there, too! Production and post-production aren’t any easier, but they’re clearer.
Now, production is where you build everything that was conceived at pre-production. We’re already excited, so let’s get right into it!
1. Modeling & Texturing
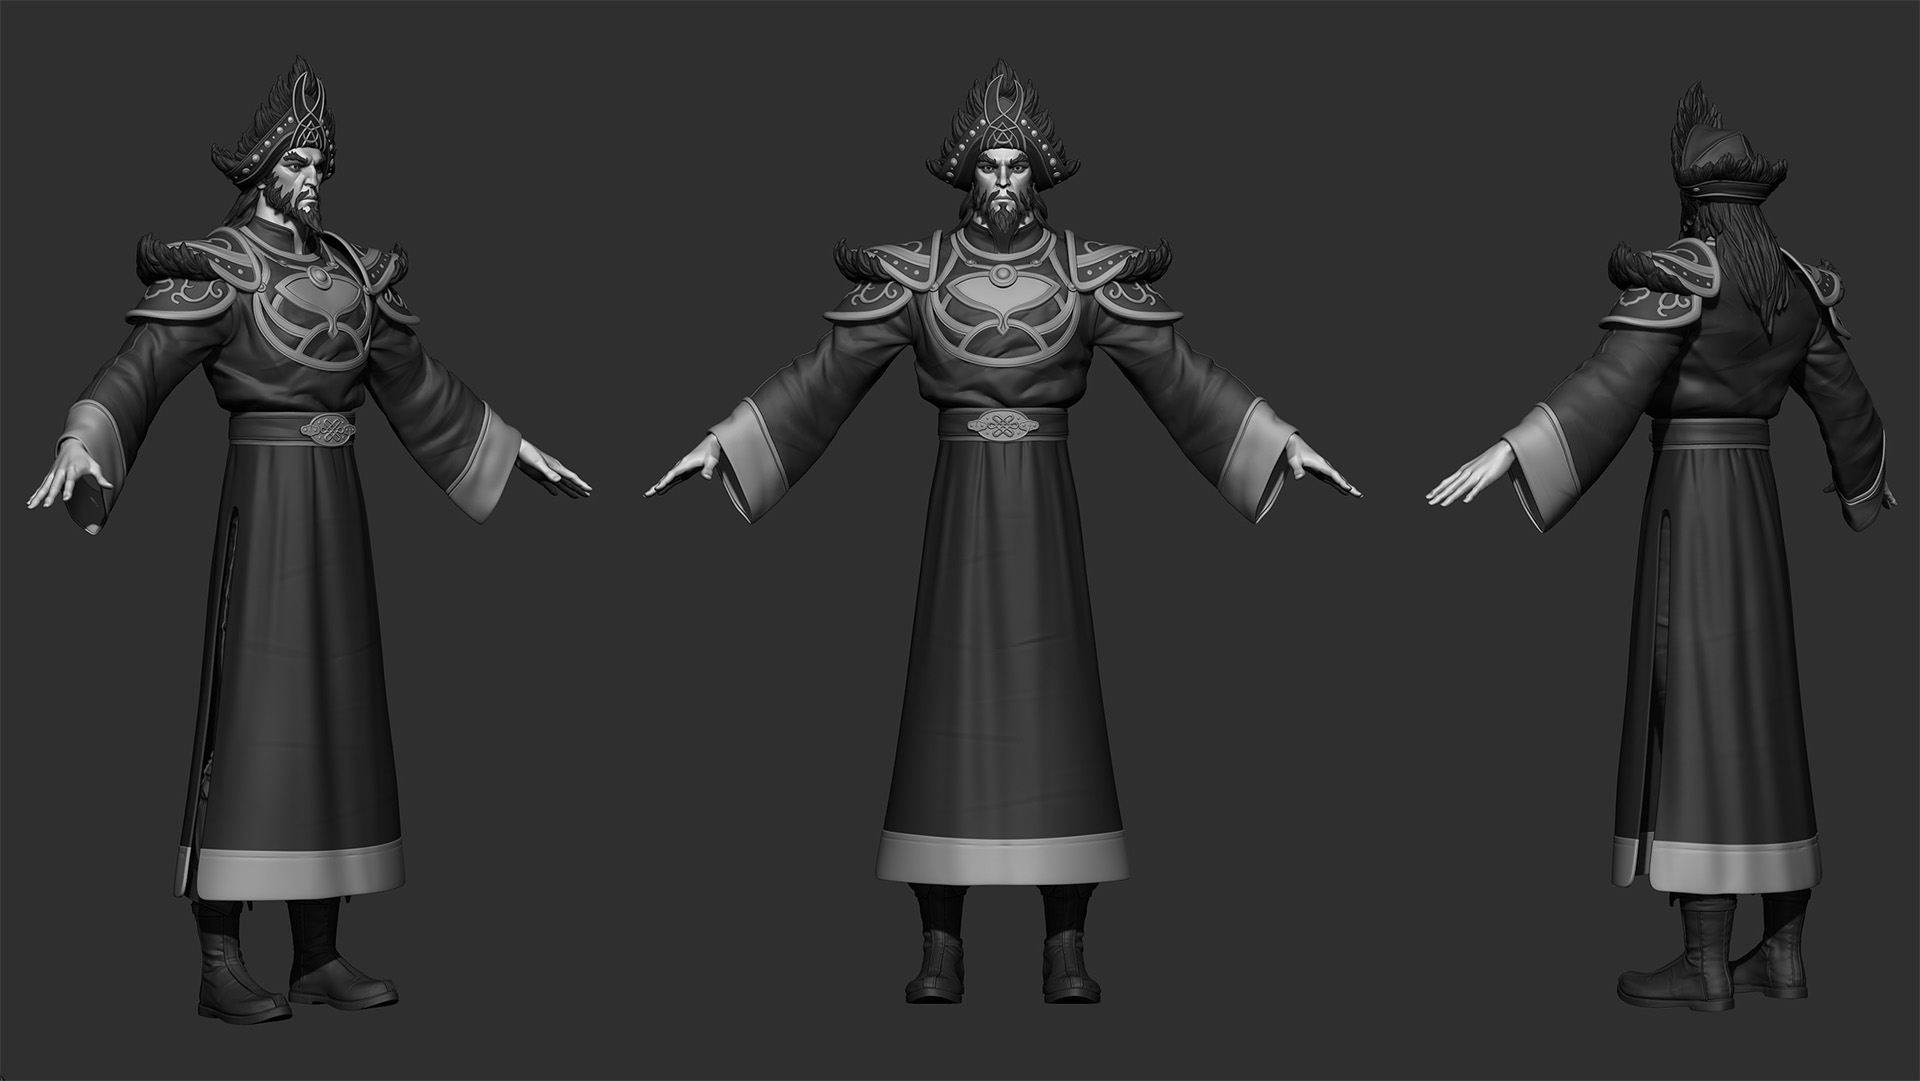
Unless you’re going for stop-motion or hand-drawn anime, you need digital 2D or 3D models for your characters, objects, and environments to bring them to life. You also need textures and lighting to enhance the appearance of these models, giving them a more realistic look and feel. This step is essentially the pillar of the production stage.
Think of it all as digital sculpting! A modeling artist (modeler) first creates simple shapes (like a sphere for a head), then sculpts those shapes to be more realistic (like making that sphere into an egg-shaped form with sockets for eyes), puts them together as grouped structures (like a body), then keeps adding details and checking proportions until they have a semi-final, functional model.
The model is then passed on to texture artists, so they can make it more realistic by adding and adjusting textures. Let’s say it was a model of an old tree. When texture artists are done with it, you can tell how coarse its truck is or how soft its leaves are.
The textured model is then given to lighting artists and shader artists, so they can take it and determine how it would look under different lights and from different angles. Lighting artists add degrees and manners of light to the textures, while shader artists decide how light interacts with the texture.
We’ve only uncovered the tip of the iceberg in modeling and texturing. Like everything else in the production stage, this step features highly technical matters that are out of the scope of this article. All of these artists have a variety of software (Autodesk Maya, Blender, Adobe Photoshop, Substance Painter, etc.) to use, a ton of techniques (sculpting, UV mapping, three-point lighting, etc.) to employ, and a thousand tiny details to work out in every model.
People Involved
- Modeling artists
- Texture artist
- Lighting artists
- Shader artists
- Concept artists (providing the basic art)
- Environment artists (providing feedback on environment models)
- Character designers (providing feedback on character models)
- Technical artists (ensuring the final models are optimized for rendering)
- Lead artists & supervisors (providing direction, feedback, and coordination)
- Art director (providing feedback on everything)
- Creative director
Pro Tips
- Provide a lot of references for artists at this stage. The more concretely they can see your vision, the better they can create those models.
- Detail gradually. Your artists already know this! If you add too much detail to a preliminary model, it’ll be harder to adjust later.
- Vary details and resolutions. Not everything needs to be high-res. For example, items aren’t always in focus.
- Iterate and collaborate. This is a highly collaborative stage that needs constant go-aheads from supervisors and directors.
2. Layout & Blocking
Now that you have your models, it’s time to put them together for each scene to create layouts. In addition to that, you also need to decide where the camera(s) would be. Luckily, the storyboard and the animatic are already clear on many poses and settings. Still, the drawings are open to interpretations and might not always concur with artistic rules or techniques like the rule of thirds. Enter layout artists!
Layout artists first put models of characters, objects, and environments together in every scene’s key moments, which is called blocking. This rough positioning is intended to give animators a view of where to plant the camera and how to move the characters. The idea is to see if the scene flows as it should.
Then, we have staging, where layout artists determine how characters, objects, and environments are arranged from the camera’s viewpoint. The camera’s angle, movement, and pace are also finalized here. The purpose here is to ensure the audience can understand and relate to the final arrangements of every scene.

People Involved
- Layout artists
- Storyboard artists
- Modeling artists
- Art director
- Creative director
Pro Tips
- Use proxy models for a simpler process. These are simplified, light models that consume way fewer resources.
- Know the story. That’s critical to how characters move and interact with each other.
- Timing is critical. While you don’t need precise timing at this stage, you can make animators’ lives easier if you have rough numbers!
- Don’t forget the hierarchy of motion. That is when something moves and makes something else move. For example, a wind blows, a branch moves, hits a girl in the back, and makes her turn!
3. Animation
Ah, where the magic happens! As you already know, this is where everything we’ve worked for is programmed to come to reality. This stage is a huge undertaking, which is probably why the entire process is named after it. Animators use a thousand tools and techniques, but the stage essentially goes like this:
- Final models move in keyframes, i.e., frames at the start and end of an action,
- Additional frames are made to fill between keyframes (this is called “in-betweening”),
- Secondary motions (like that of clouds or a character’s hair) are created,
- Character’s faces are animated, and their lips are synced to audio,
- Every shot’s timing is precisely defined, and
- Poses and movements are refined.
The animation process is considerably easier if you opt for motion capture. Using advanced mocap, your actors will provide character movements, dialogue, and facial action that will be easier to map on the character models. Your people will probably still use rigs (control systems) to make character motions more realistic, but that’s still easier than using rigs to move every character from scratch. Read more about motion capture’s use cases!
People Involved
- People, creatures, and effect animators
- Animation supervisors
- Character rigging artists (creating the rigs or character skeletons)
- Actors, if you’re using motion capture
- Everyone else involved up to here, mostly in advisory or collaborative roles
Pro Tips
- Study the real world. Everything from main motions to secondary motions and facial cues depends on your people’s grasp of reality. Even if you’re going for a surreal anime world, a deep knowledge of the real world is essential. (Take Hayao Miyazaki’s word for it!)
4. Rendering
By now, everything’s placement and motion are determined. You know exactly how every scene goes, but you still don’t have the final visuals. To get those, you need massive resources to put everything together in full detail, execute motions, and export raw video or image assets.
This stage is crucial for details and lighting. Remember how texture artists took light into account when designing textures? In rendering, the software should portray every single texture in the scene according to where light comes from in that particular scene. That’s the level of detail and resources you need in rendering!
Remember that your exports are “raw” because they’re not final or optimized. You will send that footage to post-production to put the finishing touches on it.
People Involved
- Render technicians (setting up and overseeing rendering software and infrastructure)
- Lighting and rendering artists (adjusting lighting, shading, and other parameters according to art direction)
- Texture artists (ensuring textures are correctly applied)
- Quality control personnel (checking all rendered material)
- Art director
Pro Tips
- Start with a test. Set the software to your desired settings and do a small test first to see if the results are up to par.
- Test different settings. That should help you balance quality and consumed resources. (Also, it’s obvious that if you have several disconnected systems, you should set them all to one setting.)
- Use render passes. That is, render groups of similar elements in individual passes. (Characters in one pass, lighting in another, etc.)
- Keep old versions, logs, and backups. Old versions in case you’d want to revert, logs to find possible problems like bottlenecks, and backups in case of a data loss.
- Use a render farm or network to distribute the workload across several systems.
- Monitor resources so your system(s) don’t overheat or crash.
- Render in a game engine! In our experience, using a game engine is a very efficient way to centralize animation and rendering. It has its nuances, though. So, give us a call if you’d like our expertise!
Final Thoughts on Production
Congrats! You’ve passed the most resource-intensive stage in the animation pipeline, getting ever closer to releasing your film or series for the world to see. Don’t hesitate to reach out to us if we can help.
That’s it for this article. Stay tuned for post-production, the final stage! Or would you like to take a look at pre-production again?
Author